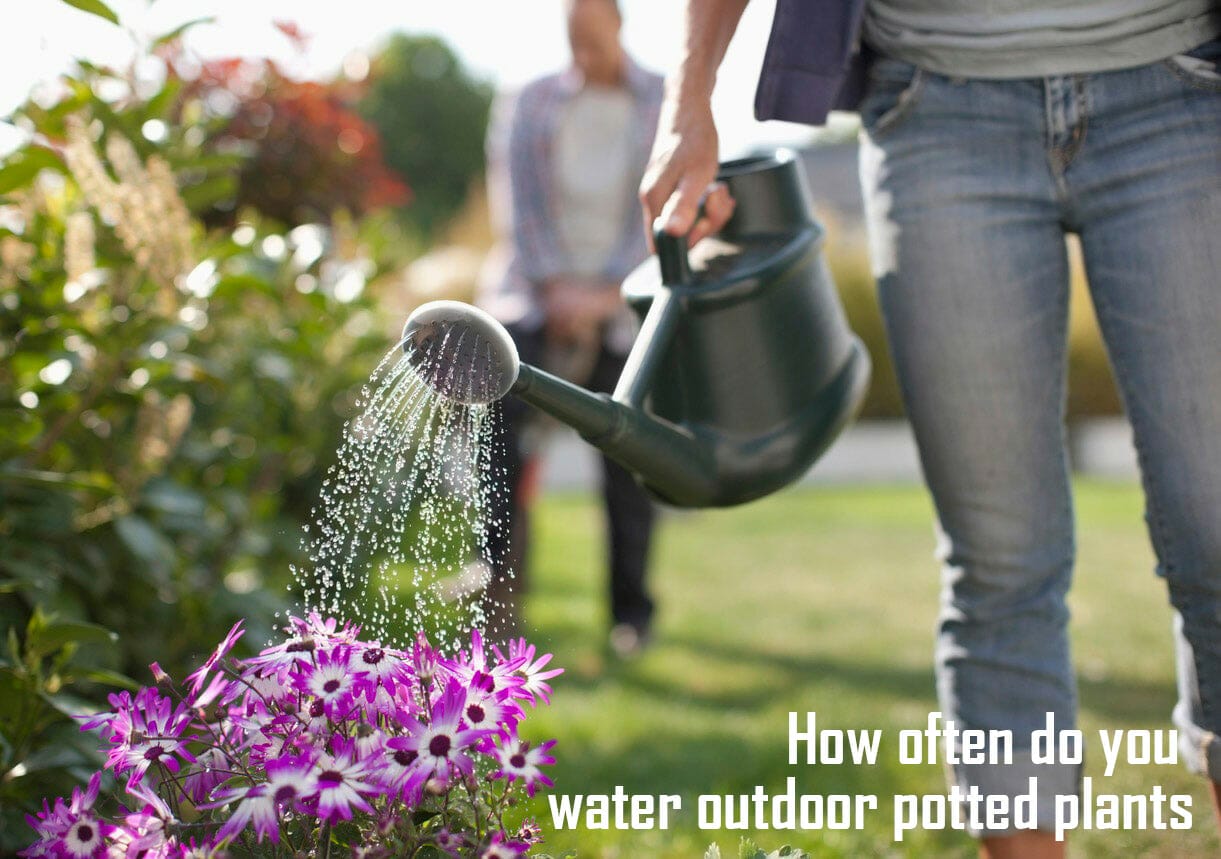
Canning food at home has become very popular lately. People love the convenience of being able to prepare their meals without having to go to the grocery store or cook from scratch. Water bath canning is a technique where foods are canned using boiling water instead of heat from a stovetop burner.
This method preserves food better because it kills bacteria and prevents spoilage. But canning requires some special equipment, skills, and knowledge. If you want to start canning but don’t know how to do water bath canning, then follow these simple steps.
What is water bath canning?
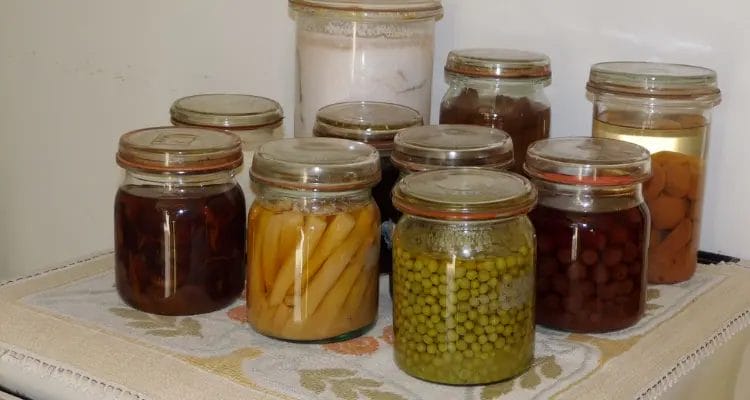
During home canning (also called bottling), fresh, ripe, in-season foods (at their highest quality) are cost-effectively preserved for long-term storage. In addition to pressure canning, water bath canning is another home canning method. A sterilized jar is used for each fruit, vegetable, and meat, and then the jar is heated. Killing harmful organisms and slowing down spoilage are both achieved through this process.
Suppose you want to preserve acidic foods (like pickles, jams/jellies/preserves, certain fruits, tomato sauce, salsa, etc.). Pressure canning is the best method, and water bath canning is the best, depending on what you want to preserve.
Here we’ll look at water bath canning, also called boiling water bath or hot water canning. The simplest way to can is to boil jars in water. The result is a vacuum seal that keeps freshness locked in for months, if not years.
Why is canning necessary?
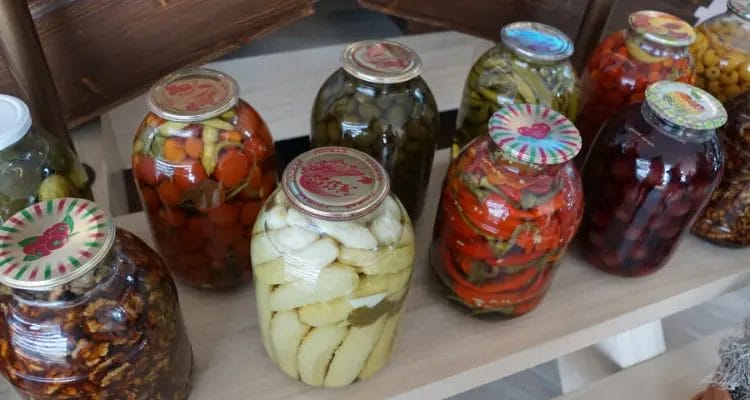
Produce with high acidity should only be canned in water baths. Pickled vegetables, tomatoes, berries, kraut, and fruit are what can be canned. Jams, jellies, and pickled vegetables are all made with water-bath canning. Using boiling water baths and their natural acidity, you can safely preserve them without high pressure, provided you take some precautions.
In the case of meats, seafood, poultry, chili, beans, corn, and other low-acid vegetables, you may not be able to can meat, seafood, poultry, chili, beans, corn, and other low-acid vegetables in a water bath due to the high temperature (240°F) necessary to raise the temperature inside the jars above the boiling point of water (212°F) and to kill harmful bacteria. When it comes to food that has low acidity, pressure canning is necessary.

Things you need for water canning:
The gear assembly is necessary for newbies. Food-safety concerns should override all other considerations, even if you can cut expenses in some ways.
An aluminum pot
this is usually used for boiling water canneries. With their fitted lids, these containers are deep enough for the jars to submerge, about an inch above the top fully. All cooktops work best with flat bottoms. You can do this without a stockpot, just as you would with a boiling water canner.
To keep your jars from getting scorched, you should also use a rack that fits inside the canner. The heat will crack jars if placed directly on the bottom of your canner.
jar
Canning jars come in various sizes and shapes, from four ounces to half-pints, pints, three-quarter quarts, and quarts, as well as narrow-mouth and wide-mouth options. Jars can be reused over and over again. Remember not to use old-fashioned canning jars with wire bails and glass lids sealed with rubber lid seals if you have access to hundreds of ornamental glass jars, recycled pickle jars, or recycled mayonnaise jars.
Clean the jar
Stainless steel bands that don’t rust. Undented metal bands that fit your jars. They screw the lids onto the threaded rims of the jars until the products are processed. Cooled and sealed. The bands can be reused if they are not damaged or dented.
Canning lids for your jars that are single-use metal. Processed food must be handled with brand-new lids. As the jars cool and air escapes from them during cooling, the inner gasket softens, allowing air to escape from them and sealing the jars airtight.
Filter for scanning. It prevents food from spilling onto the rim of stainless steel or plastic jars when using this wide-mouthed funnel.
The ladle is made of stainless steel. If you’re considering buying a canning ladle, choose a model with a long handle and a pouring spout.
Lifter for jars
After processing, canning-jar tongs are designed to grasp and lift hot jars straight out of the canner or into a boiling water canner. The tongs fit around the base of the canning jar rims for safety.

Food mill or strainer.
It is designed to mash cooked soft foods and sieve the pulp to remove seeds and peels. There are different styles and sizes of these devices. The old Foley hangs from a hook, ready to go. As well as being reliable, it is easy to clean, even if it takes some muscle power.
A stainless-steel stockpot large enough to hold and cook a big batch of tomatoes, berries, or other products before you ladle them into the canning jars for processing in the canner.
Done gathering every piece of equipment?
Now follow those steps to easily water bath canning:

Step 1: fill the jar.
To prevent chips from forming on jar rims, inspect all jar rims before proceeding. Canning with those jars is not recommended. If the lids were previously processed, make sure to use new ones. It is possible to reuse rings.
The manufacturer’s instructions should be followed when heating jars and lids. Mason jars manufacturer Ball recently dropped this recommendation, saying that their products don’t require this. Ensure you thoroughly clean the jars and lids before filling them with Ball and Kerr products. Rinse and let them dry. Alternatives include dishwashing the jars (but not the lids).
Make the recipe in a canning jar, then fill it with a spoon.
Ensure that the top of the food is at least 1/4 inch away from the jar rim, usually between 1/4 inch and 1 inch. The recipe should specify this.
The insides of the jars should be cleaned with a spatula or chopstick to release trapped air bubbles.
Using a moist towel or paper towel, wipe the rims clean of any food traces. A better seal will result from better contact between the lid and the jar.
Step 2: Lids and rings should be applied
Place the round canning lid on each jar. Apply the band around the middle of the lid, making sure it’s snug against the rim of the jar. Then screw on the ring until it’s just fingertight. This is what keeps the lid secure while the food is canned. If the lid isn’t secured properly, it could pop off during processing.
Step 3: put the jars in hot water.
The next step is to process the jars. Processing helps preserve the quality of the product while ensuring that no air bubbles remain inside the jar. You’ll want to use a steam wand or immersion blender to do this. You can find both options in most kitchens.
You can either place the jars directly into the pot or use a rack that holds the jars upright. Place the rack over a pan that fits into your stovetop. Jars should be separated by at least 1/2 inch. Make sure to fill the pan with enough water to cover the bottom of the rack.
When the water boils, carefully lower the jars into the water using a jar lifer or tongs. Keep the jars vertical to avoid letting the contents touch the rims. Once the jars are submerged, boil for 10 minutes. Remove the jars and set them aside to cool completely.
Once cooled, check each jar to ensure the lids are sealed properly. A good rule of thumb is to press down firmly on the center of the lid and see if it makes a popping sound. If it doesn’t pop, it isn’t sealed. In some cases, the lid may not seal correctly. If this happens, simply reboil the jar and try again.
Step 4: let the jars cool down.
After the jars have completed the processing time, allow them to sit for five minutes to let them settle.
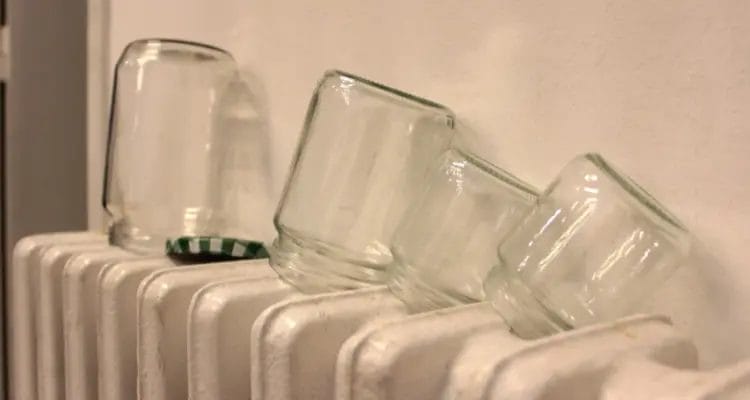
After the jars have been processed, remove them from the rack or use tongs or a jar lifter. Don’t tilt the jars, as this could affect the lid’s seal if lifted vertically. You should leave1 one inch between jars when transferring them to a cooling rack or towel. If you plan to place them directly on the counter or in a drafty area, you should avoid causing temperature shock and breakage.
After 12 to 14 hours, leave them undisturbed to cool. The jars and lids should not be disturbed during this time. When the lids flex and seal, you’ll hear a pinging sound. It’s normal to see this.
Step 5: Check and store the jars.
It is possible to determine whether the jars have sealed properly after cooling by pressing the lids down. Pressing on them should feel solid and won’t wiggle.
The rings should be removed. If the seal does not work, you can try lifting the jars from the edge of the bottle’s rim to test the seal. If the lid is tight enough, then the jar should be able to be lifted by just the tension of the lid alone. If any lids fail, the contents should be refrigerated and consumed as soon as possible. It is also possible to reprocess the contents of the jar using the same method if it has not been more than 24 hours since the last batch was processed, if necessary, by using a clean lid and a new jar.
After washing or wiping your jars down, wipe down jars with a moist cloth to remove any sugars or residues left over from the canning process. They are recommended to be stored in a dark, cool place for as long as possible.
Are there any foods that can be safely canned in a water bath?
- Fruits and fruit juices.
- Jams and jellies.
- Salsas.
- Tomatoes.
- Pickles and relishes.
- Chutneys, sauces, pie fillings.
- Vinegar.
- Condiments.
Frequently Asked Questions:
Canning with water baths serves what purpose?
Can pressure affect certain foods?
What is the best method for canning?
Can you overboil when canning?
Conclusion
I hope you find this article helpful and help you to understand the canning process more efficiently. Now run to the kitchen and make your canning jam.