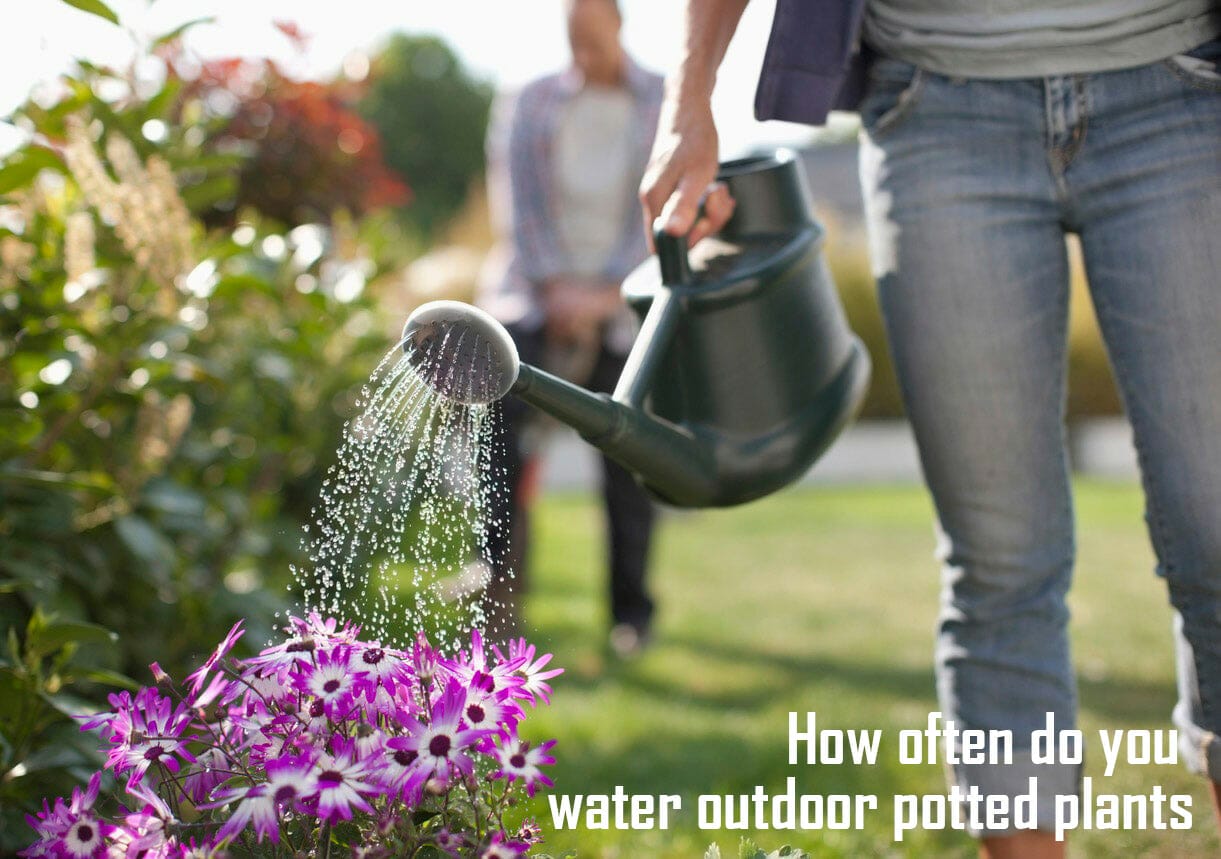
It’s strawberry season, and if you want to preserve your berries for later use, water bath canning is quick and easy. The process doesn’t take much longer than it does to make the jam or jelly in the first place.
It will take 10 minutes for the jam to be processed if the jars were pre-sterilized, but if they were not, the time should be 5 minutes. But it requires specialized equipment (like a boiling-water canner).
If you’re wondering how long to water bath strawberry jam: no need to worry. We’ve got everything you need right here.
Here is what you need to make strawberry jam

- A clean sink
- Cold water
- Bowls
- Assembly line
Step-1: Wash the strawberries
- Fill the sink with enough cold water to cover the bottom third of the strawberries.
- Run the faucet on medium-low for about 10 seconds.
- Remove the strawberries from the sink and gently pat dry with paper towels.
- Place the strawberries cut side down in another bowl.
- Repeat steps 3 – 5 for the rest of the strawberries.
Step-2
You’ve got the fruit; now it’s time to make strawberry preserves. You’ll start off with some simple steps to ensure success.
First, wash and hull all of your fruit. Then chop up your fruit into small pieces.
Next, place everything into a large saucepan and heat over medium-low heat. While stirring frequently, let the mixture slowly cook down until it reaches 220 degrees F. This process takes about 3 minutes.
Once the temperature hits 220 degrees F, turn off the heat and let it cool completely. At this point, you’re ready to put together your preserves.
Put the hot liquid into a pot and bring it to a boil. Remove from heat once boiling begins and immediately pour into prepared jars. Allow sitting overnight before storing in a cool, dark area.
Here is how you can make strawberry can

This canning method is for jams, jellies, and acidic foods (pickles and tomatoes). It is not for canning meat, fish, or vegetables. It also is not for canning fruits that are not acidic.
Start with clean jars and lids
- Wash clean jars and lids in hot soapy water. Rinse well, then drain.
- Place the jars on a clean towel to dry.
Sterilize the jars
Before making your jam, sterilize and prepare all of your equipment. This includes:
- Jars
- Lids
- Rings (unless you are using reusable lids)
Prepare the canner
Before you begin, you’ll need to assemble your canning setup. You’ll need:
- A large pot with a lid (also called a water bath canner)
- A rack that fits inside the pot and allows room for the jars to sit above the water level
- A timer (not necessary if using an Immersion Circulator for sterilization)
- A jar lifter, which will help transfer hot jars from the boiling water and set them on a towel in a draft-free location for cooling
Ladle the jam into the jars
Once the jam is boiling, ladle it into the jars.
- If you have a funnel and jar lifter, use those to help you fill your jars more neatly. This can save time and effort when moving from one jar to another and prevent spills on your countertops and floors.
- If you don’t have either of these tools at hand, just pour the hot jam into each jar (making sure they’re clean) while holding onto the rim with one hand and using a spoon or spatula in your other hand to push down any air bubbles that rise.
- You can also use a wire whisk if no other utensils are available—this will ensure no air bubbles remain in between layers in your jam while keeping things neat enough that they won’t spill over when being poured into place between jars.
You can also use knives or forks if necessary—they may not be ideal for getting every last bit out. Still, they will work fine most times under normal circumstances so long as nothing goes wrong such as needing additional space due to overfilling/spills, etc.
Remove air bubbles
If you notice that your jars are full of air bubbles, don’t worry. It happens to the best of us. You can take care of these pesky air pockets by using one of four methods:
Using a spatula or spoon, gently push down the top layer and allow any trapped air to rise through the jam. This will often work for smaller bubbles; however, if too many large bubbles are present or if they’re especially stubborn, proceed to method 2.
Using a straw (or wine cork), gently blow into your jar until all visible signs of trapped air have disappeared from around its perimeter. Be careful not to shake or stir your jam. This may create new pockets of trapped air that were previously undetectable and make them impossible to remove without stirring through all that tasty berry goodness with a spoon which we don’t recommend because it will mess up all those lovely seeds floating around.
- Wipe rims before sealing.
- Wipe rims with a clean, damp cloth.
- Wipe rims with a damp paper towel.
- Wipe rims with a paper towel or paper napkin if you don’t have a clean cloth handy.
Place on the lid and ring
- Place the lid on top of the jar.
- Screw firmly onto your jars, ensuring that it’s tight enough to hold in all those delicious juices.
Place in the water bath canner
Ensure enough water covers the jars by 1 inch in your water bath canner (or large stock pot). Use a rack to keep the jars off the bottom of the pot so that they don’t crack. Add 2 Tbsp of white vinegar for each quart of liquid in your mixture, and bring it to a boil.
Place the jars on top of another rack or inside a large piece of aluminum foil, then lower them into your preheated water bath canner using a jar lifter. Make sure that you only fill your canner halfway full; otherwise, you run out of room and will have trouble getting all your jars in there.
If you have any leftover space in there, just fill it up with hot tap water until all air bubbles are gone from inside each jar before proceeding with our next step: timing.
Here’s how to water bath strawberry jam
Start with clean jars and lids, then sterilize them for 10 minutes in a water bath or 15 minutes in a pressure canner.
Prepare your canning pot by adding 2-3 inches of water over high heat and bringing it to a boil.
Ladle the jam into the hot, sterilized jars leaving about 1/4 inch of headspace at the top (this is not needed if you are using our Ball Blue Book Method). Remove air bubbles by sliding a butter knife along the inner surface of each jar while it is still warm; wipe rims before sealing very tightly with a lid and ring (or other methods).
Place sealed jars on a rack inside the canner which should be covered with enough water so that they will be covered when placed inside it (you may need another rack if yours doesn’t have enough slots).
Set timer for 5 minutes per 1/2 pint-sized mason jar (if using larger jars) or 10 minutes per pint-sized mason jar; process time varies depending on altitude but should always start counting down once time begins regardless of how long it takes until you reach 0 pounds pressure according to your recipe’s instructions given by your preserving guidebook.
How long will Strawberry Jam last?
Within three months after opening the strawberry jam, you can refrigerate it. When making strawberry jam at home, keep in mind that heating it in a water bath will extend its shelf life and will make it easier to store.
If you store the jam properly, you can keep it for more than a year if it is kept in a cool, dry place.
Furthermore, the sugar in this recipe plays a key role in preserving the final product by removing and retaining water from the thickening process, which acts as a barrier against the growth of harmful bacteria.
Is it possible to pressure can strawberry jam?
Strawberry jam should not be pressure-canned because it will not be stable enough to withstand the high temperature and pressure needed to preserve it safely. If you do decide to try to pressure can strawberry jam, follow these steps:
1. Wash strawberries thoroughly. Remove stems and cut them into quarters. Place berries in a large pot and cover with water. Bring to a boil over medium heat. Reduce heat to low and simmer for 15 minutes. Drain fruit and set aside.
2. Mix sugar, lemon juice, pectin, and salt; stir well. Add hot cooked fruit to the mixture. Return to boiling point and cook for 5 minutes without stirring. Stir constantly for the next 3 minutes. Skim off foam.
Ladle into warm sterilized jars, leaving ¼ inch headspace. Wipe rims. Seal tightly according to the manufacturer’s instructions. Process in a pressure canner for 10 minutes. Allow cooling completely. Store refrigerated for up to 2 months.
Frequently Asked Questions [FAQs]
1. Is there a good book on canning?
2. Strawberry Jam Without Sugar: Is It Possible?
3. Do you need any special equipment?
4. After canning, why should jars be turned upside down?
5. What is the purpose of adding lemon juice to jam?
Conclusion
Water bath canning is an effective way to preserve your food. I hope this article has given you the perfect idea of how to make strawberry jam can and enjoy strawberry jam all the year. Click here to check zerowater vs brita water purifier.